Sunday, 27 February 2011
Thanks
Just a note of deep thanks for passing the one millionth mark on page
views. I'm humbled by your visitations and cherish each and every
comment. I may not look it here, but I feel it inside, where it counts.
Thanks kindly. Jerry
Friday, 25 February 2011
Post Card Set

The Post Card Set contains five different post cards, each one measuring 2450 X 1654 pixels in size. As always, I hope they can be of some use.
Here's a small example of the set shown below.


Download the Post Card Set Here:
Wednesday, 23 February 2011
Tombstone Etching Textures

Here's something a little different. I'm a frequent visitor of local graveyards, sounds creepy but I find it very interesting. Viewing the dates on the aged and worn stones, not to mention making etches from the stones is pretty cool. Tombstone Etching Textures consists of ten different tombstone textures, each measuring 2592 X 1952 pixels in size. As always, I hope they can be of some small use. Peace
Here’s a sample of what’s in the zipped pack


Download The Zipped Set Here:
Tuesday, 22 February 2011
Polaroid Overlay Set

Polaroid Overlay Set consists of 11 differently styled polaroid’s. Each overlay measures 2400 X 1800 pixels in size. Hopefully these may be of interest and use. Peace


Download Zipped Set Here:
Wednesday, 16 February 2011
Sorry For The Lapse In Posts
Sorry for being absent of late, but it seems sense my last post one of our pet Dachshunds passed away and my PC has been acting squirrel 'y and is in the shop, so I've been using my girlfriends PC.
Not much fun sharing duties on one PC, seems to make one a bit cranky.
Wiener one of our pet Dachshunds passed away last week and we had her cremated, which came with a death certificate, a cremation certificate, a plaster mold of a paw print from her and an urn, which was surprisingly only a hundred dollars.
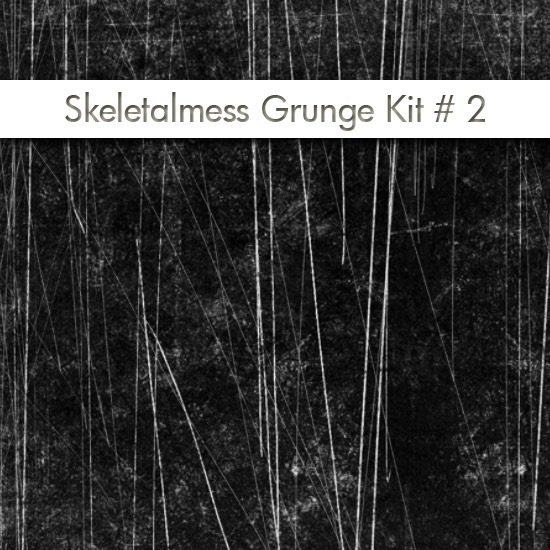
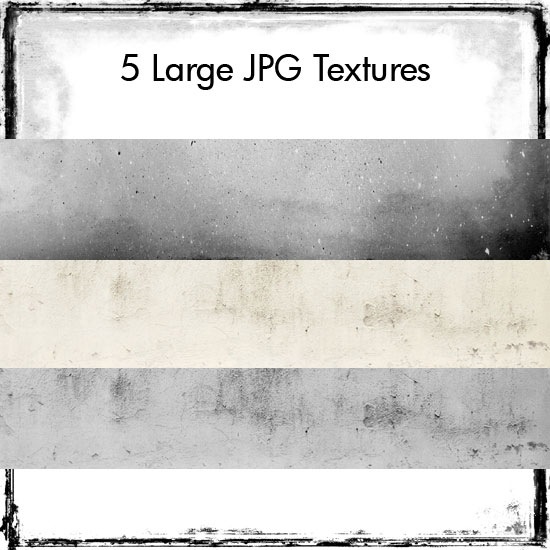
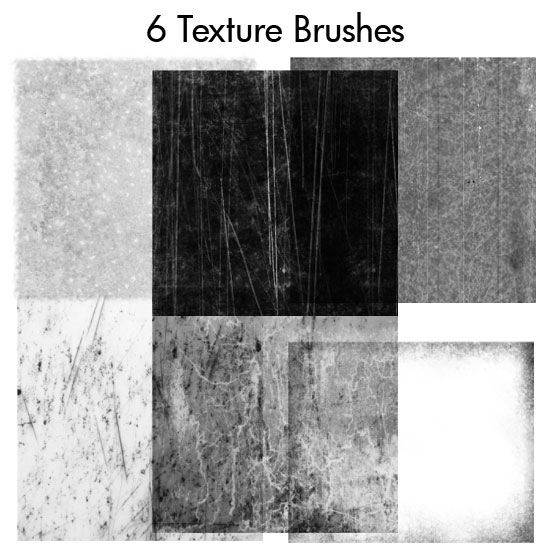
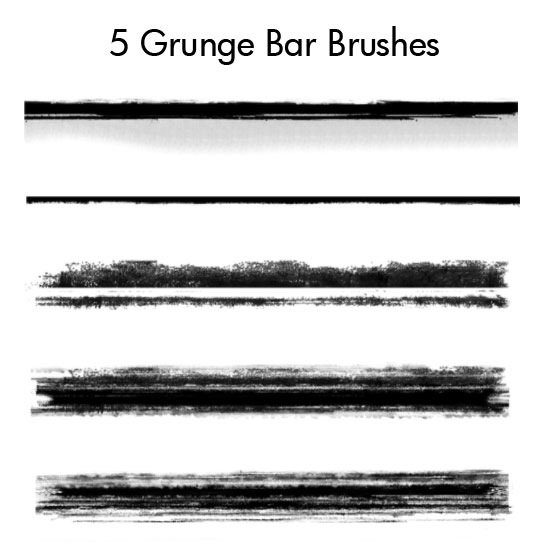
I hope the Grunge Kit below is reward enough for the delay in posts. Peace
Skeletalmess Grunge Kit 2
Wednesday, 9 February 2011
Tuesday, 8 February 2011
Another Mixed Texture Set
Friday, 4 February 2011
Another Retro Vintage Effect Tutorial
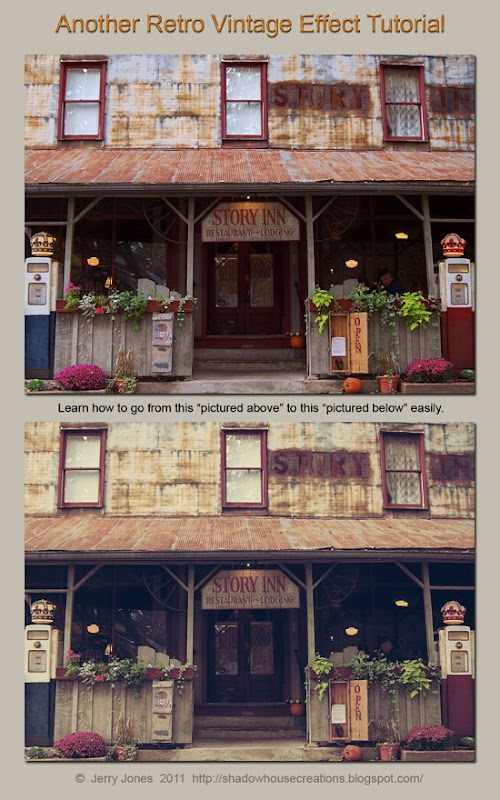
Seems like everywhere you look, there's an image with a retro/vintage look effect. There's so many ways to achieve this effect, whether it be filters, presets, actions, or textures, I'm gonna show you a simple way, which might seem long but the more you work with the tools within Photoshop such as levels, curves, photo filters among others the easier it will get, plus you may learn some new tools you've never used before.
1. Open an image in Photoshop (Background Layer)
2. Go to image / adjustments / levels / use these settings (0 - 1.20 - 255)
3. Next go to image / adjustments / curves / set a point at (74 and 50)
4. Set another point at (188 and 97)
5. Now go to image / adjustments / brightness/contrast and set brightness to (+5) and contrast to (+3)
6. Now we're gonna set 2 photo filters, go to image / adjustments / photo filter, first - color (AC7A33) density 75% then press OK. Second - color (31260C) density 60%.
7. Make a new layer and fill it with a dark blue (0C3088) set the opacity to 70%, fill at 80%, and blending mode to (lighten)
8. Make another layer and fill it with a light orange (EFD56C) set the opacity to 50%,leave the fill at 100%, and the blending mode to (multiply)
9. Next go to image / adjustments / levels / and use (26 - 1.00 and 238)
10. Now make a duplicate of the background layer then go to filter / sharpen / and click sharpen, now drag the duplicate layer to the top.
11. Last, "I heard that" go to image / adjustments / desaturate / set the opacity and layer mode to your liking, here I sat the layer mode to (normal) and the opacity to (27%)
That's it, we're done. I know this may seem a long process, but the more you work with curves and levels the easier it will get.
Thursday, 3 February 2011
Tuesday, 1 February 2011
Layer Overlay/Mask Set
Subscribe to:
Comments (Atom)

