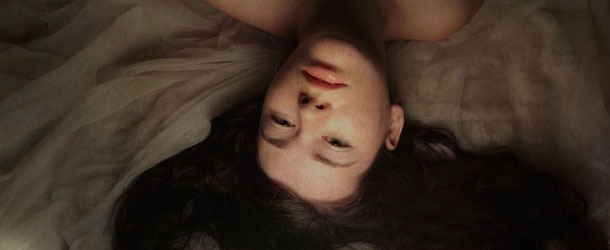
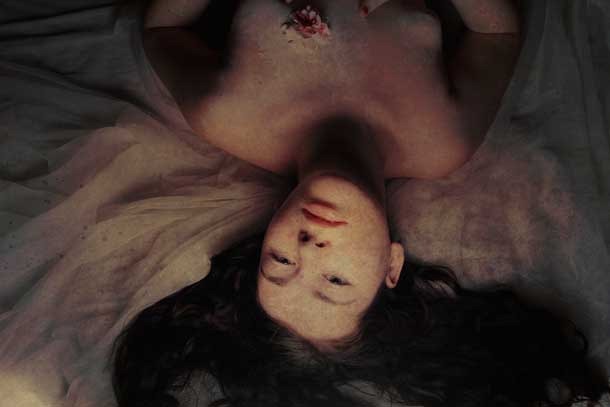
I've had people often ask how I apply textures or what's my process when doing so. Well, here's a walk thru, not a tutorial, to show the process I went through from the original before image to the finished after image. Hopefully this will give you some insight into my process and maybe you'll get some ideas to try yourself.
I've also included the six textures used in the process available in a zipped download if interested.
A Walk Thru Process:
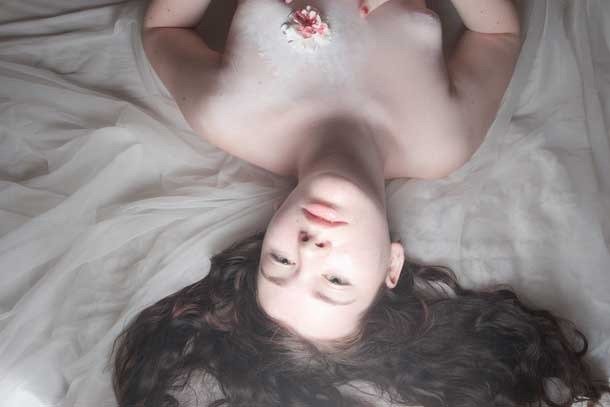
Step 1: Open image to be used, which becomes the "Background" layer.
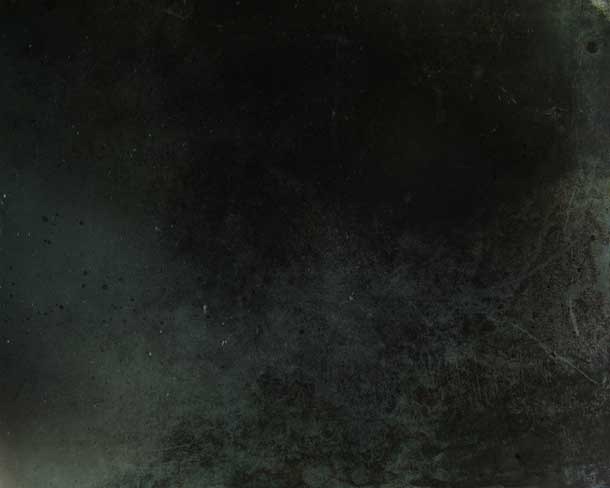 Overlay 11
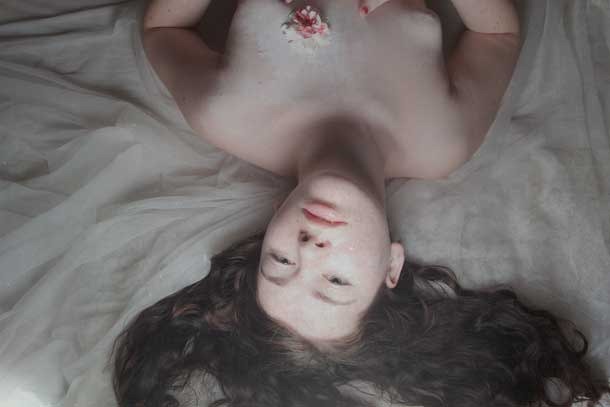
Step 2: Added "Overlay 11" and drag it on top of the background layer, I then set the "Layer Mode" to "Hard Light" and the "Opacity" at 29%.
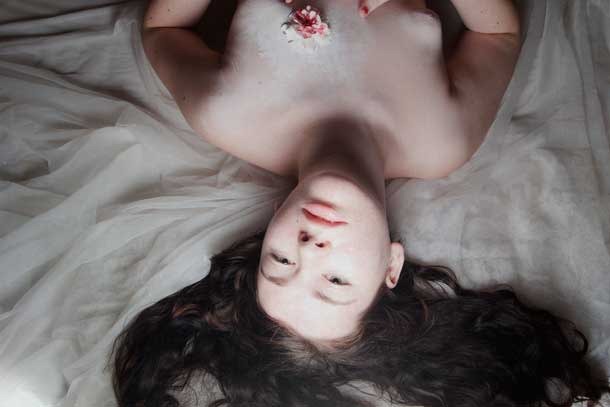
Step 3: Made a duplicate of the background layer and set the "Layer Mode" to "Soft Light" and the "Opacity" at 100%.
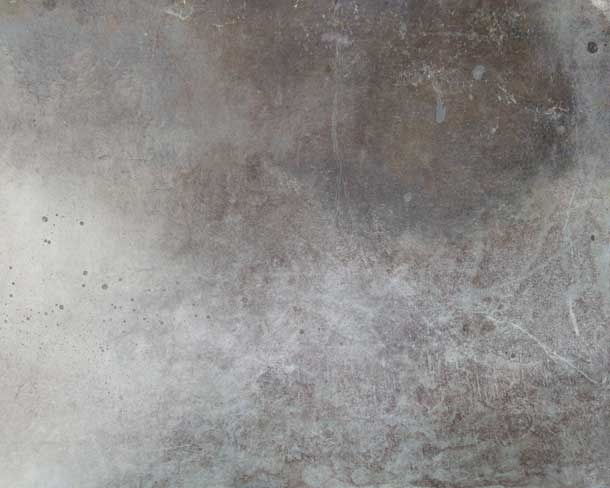 Overlay 8
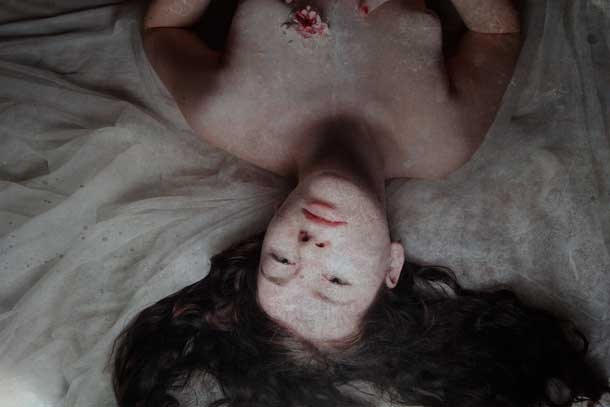
Step 4: Added "Overlay 8" and set the "Layer Mode" to "Multiply" and the "Opacity" at 70%.
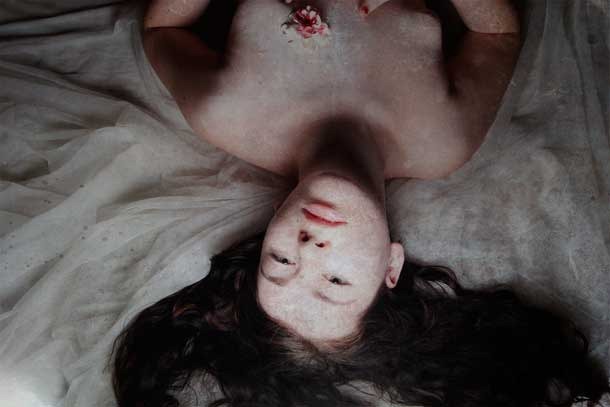
Step 5: Made another duplicate of the background layer and set the "Layer Mode" to "Soft Light" again and the "Opacity" at 54%.
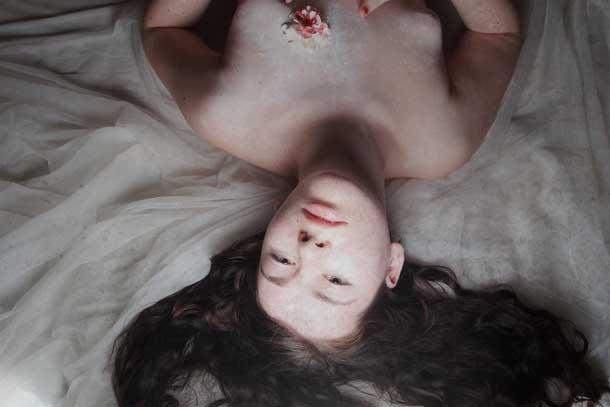
Step 6: Again, I made another duplicate of the background layer and set the "Layer Mode" to "Lighter" and the "Opacity" at 34%.
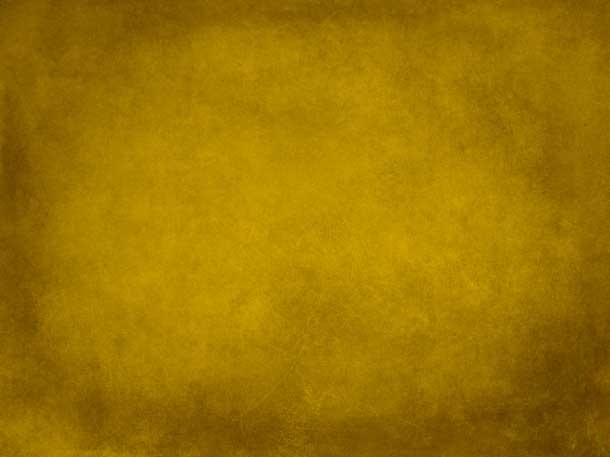 Butternut Squash
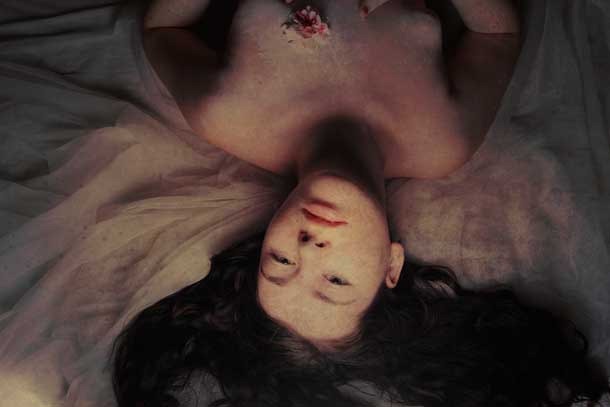
Step 7: Added "Butternut Squash" texture and set the "Layer Mode' to "Linear Burn" and the "Opacity" at 44%.
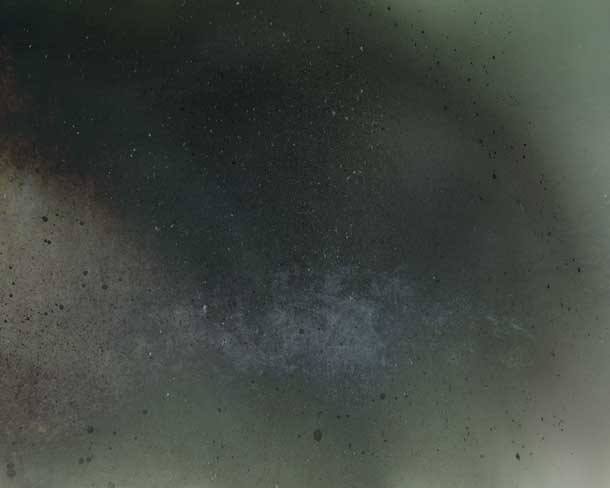 Overlay 16
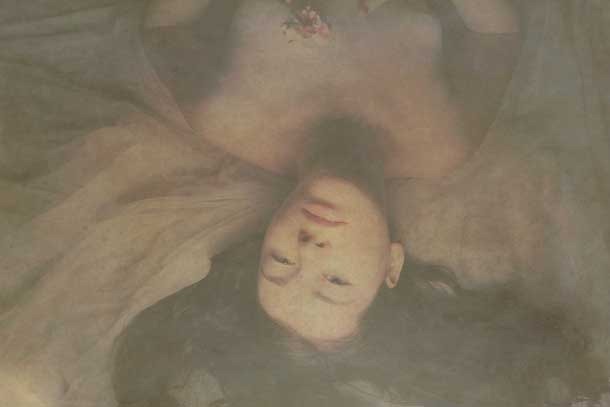
Step 8: Added "Overlay 16" and set the "Layer Mode" to "Soft Light" and the "Opacity" at 34%.
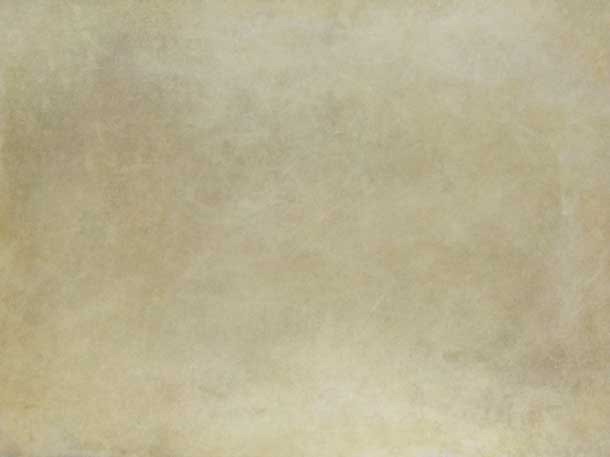 Heavens Blush
Step 9: Added "Heavens Blush" texture and set the "Layer Mode" to "Lighter Color" and the "Opacity" at 51%.
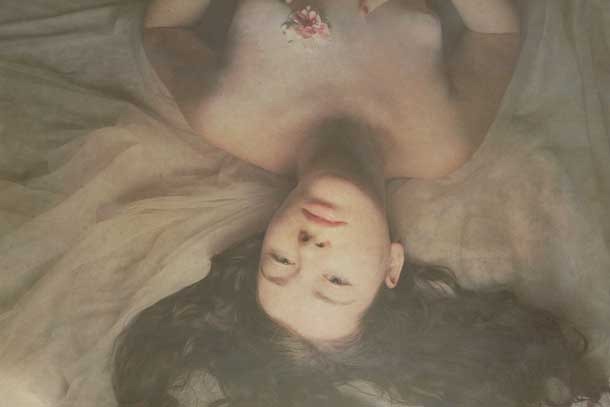
Step 10: Made another duplicate of the background layer and set the "Layer Mode" to "Overlay" and the "Opacity" at 91%.
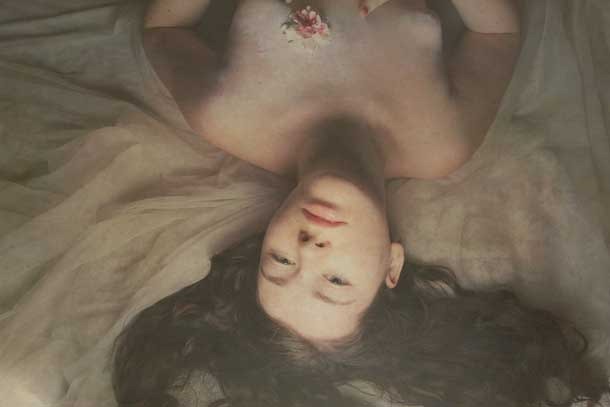
Step 11: Again, I made another duplicate of the background layer and set the "Layer Mode" to "Multiply" and the "Opacity" at 32%.
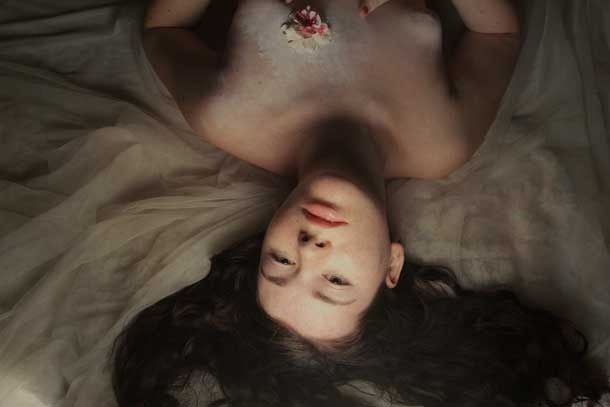
Step 12: Yes, once more I made another duplicate of the background layer and set the "Layer Mode" to "Multiply" and the "Opacity" at 83%. Looks good, but maybe a hint of gold tone.
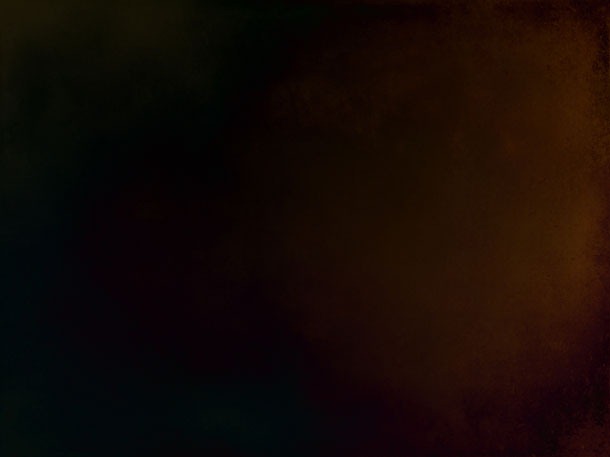 Difference Maker
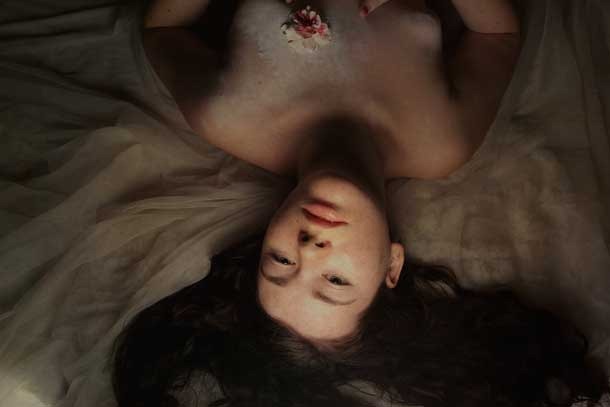
Step 13: Finally, I added "Difference Maker" texture and set the "Layer Mode" to "Soft Light" and the "Opacity" at 38%.
That's it, all’s left now is to flatten the layers and save.
Hope you enjoyed!
Image Walk-Thru Texture Set Download:
No comments:
Post a Comment